A short intro how to install software required for OpenTX.
Introduction
The most important tool for OpenTX based radio is the so called OpenTX Compagnion. Compared to other typical radio’s OpenTX has a nice PC based tool which allows you to configure and simulate your radio completly on the PC (Windows, MacOS X and Linux are supported).
Installation
Installation is done with following simple steps:
- Download OpenTX companion
- Run setup
- Start application
- Do some basic settings
Download OpenTX companion
The latest version of the OpenTX companion can be found on the download page of OpenTX: https://www.open-tx.org/downloads
Open the mentioned URL in your browser. Then you have to navigate to latest OpenTX Branch. At time of this writing the latest release was OpenTX V2.3.9 (https://www.open-tx.org/2020/06/14/opentx-2.3.9 ). There you will find the download links for the OpenTX companion. Select the link suitable for your operating system.
Run setup
After you downloaded the latest version just install the software as usual. If you are using Windows double click on the downloaded package. After short time the software is installed.
Start application
Start the application with a double click on the applicatoin icon on your desktop or menu.
Updating companion
Everytime you start companion it will automatically check if there is a new version available. If so you can initiate directly an update of the application.
If you want to update manually you have just to download the latest companion (see above) and start the installation procedure. The application recognise that already a version is installed and will update the existing installation.
Do basic settings
First step is to define some basic settings. Start the application and open settings by Settings -> Settings... The following window will appear:
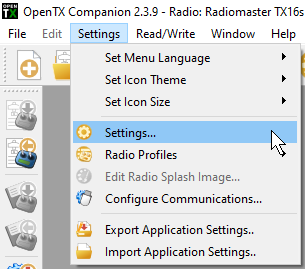
After selecting Settings... the following dialog will be shown.
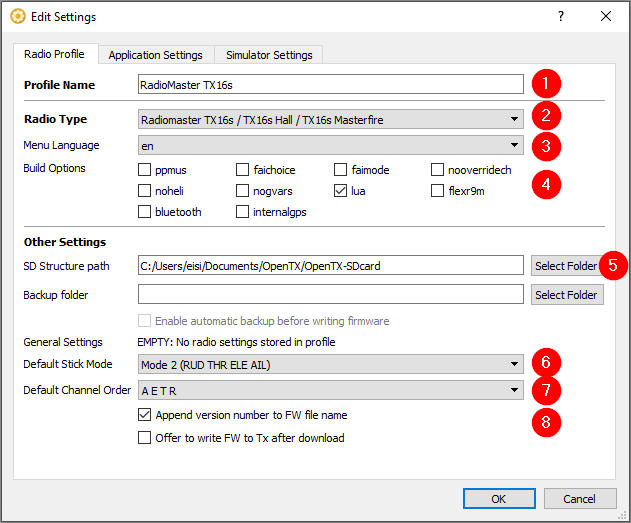
Settings, Radio Profile
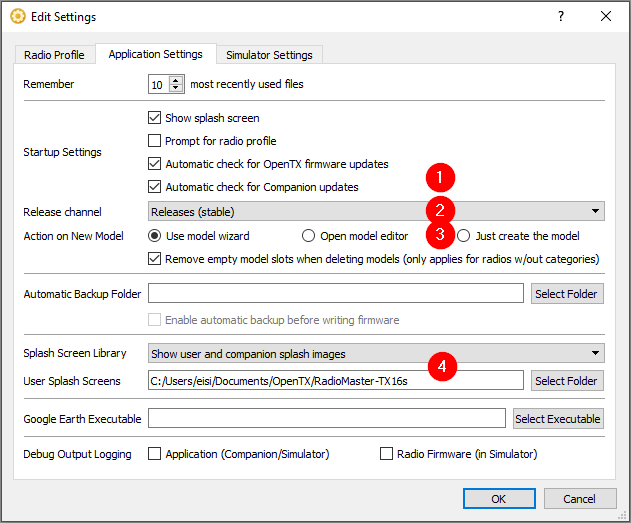
Settings, Application Settings
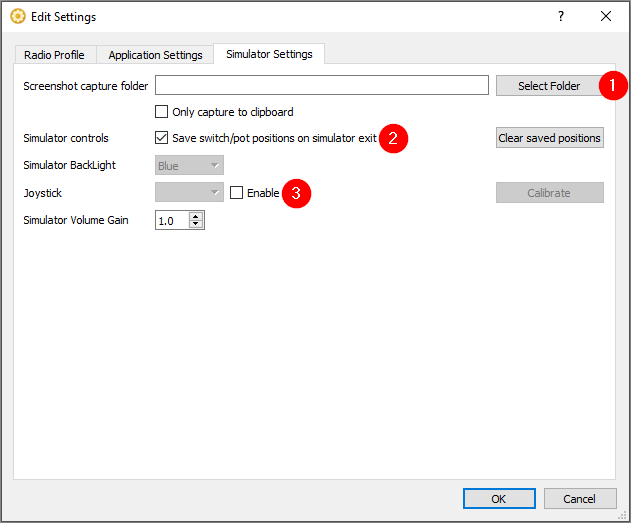
Settings, Simulator Settings