This blog is based on hugo - a static web page generator. It will generate all documents which have to be transfered to my web server. Instead of doing it manually I show you how to do it with a simple Gitlab CI/CD pipeline to automate all necessary steps.
Introduction
For my blog I’m using hugo - a static web site generator. The typical work flow for publishing an article looks like the following:
- Create new blog post (write article, create pictures)
- Generate web site pages
- Upload generated pages to web server
graph LR
A[Edit Content] --> B(Generate Content)
B --> C(Push to Website)
subgraph Manual Task
B
C
end
I always track my projects with gitlab. This was a perfect base to implement a Continous Integration / Continous Deployment (CI/CD) process. GitLab supports such things out of the box.
Implementation
First things first: the process has to be adapted a bit. It would look like the following:
graph LR
A[Checkout] --> B(Edit Content)
B --> C(Checkin)
C --> D(Checkout)
D --> E(Generate Content)
E --> F(Push to Website)
subgraph GitLab Runner
D
E
F
end
The magic happens in GitLab with the so called CI/CD pipelins. Those are tasks which will be performed automatically after you push something to your repository (in my caase the blog).
The ingridients
To get up and running the first thing you need is a so called gitlab runner. This is a worker process which will polls the gitlab instance for new jobs. Jobs are defined in a file with the name .gitlab-ci.yml. Here happens the magic which helps in our case to generate static web files and push them to the web server.
GitLab runner
You need a “slave” which will do tasks for you. This is a dedicated system where the GitLab Runner is installed on. The installation of that Runner is not in scope of this article, for reference see the original documentation for Install GitLab Runner . The installation is super easy.
After successful installation and registration on you GitLab instance you are ready for the next step.
.gitlab-ci.yml
This is where the magic happens. Here you define what should happen after you commit something to your repository.
Here is an example of such a .gitlab-ci.yml configuration:
| |
Now some explanation for the key elements of this file:
- Line 1: Define which docker image should be used for all your following tasks. Here
ubuntu:latestwas used due the default imagealpineis a very stripped down version of linux andhugodoes not work there. - Line 3 & 4: Strategy how to deal with the checkout of the repository. Due I’m using git submodules in my project this setting is required so the runner does checkout the required submodules too.
- Line 6, Line 20: Name of jobs. Those will be reported in the Gui of GitLab. Typically you will break down your job into tasks, so you have more control over the “build” process.
- Line 7, Line 21: Name for the stage
- Line 8ff, Line 22ff: Section
before_scriptdefines the stuff needed to setup your environment before you actually do working on your source. The content could also live in the sectionscriptitself; but in this way it is cleaner and clear, that this is part of the setup of the environment. - Line 14ff, Line 28ff: Section
scriptdefines what should be done with your code.- In stage
buildin this case the static files will be generated and will be saved in directorypublic. Hence the definition ofartifacts, see Line 16. - In stage
deploywe sync the static web files to our destination system over SSH.
- In stage
- Line 16ff: Defines which files (artifacts) should be saved in GitLab for future use. Typical resulting binaries will be saved in your GitLab instance for future use.
- Line 30: Defines when the corresponding stage should be executed. Here only if there is a commit in branch
main.
The challenge: SSH
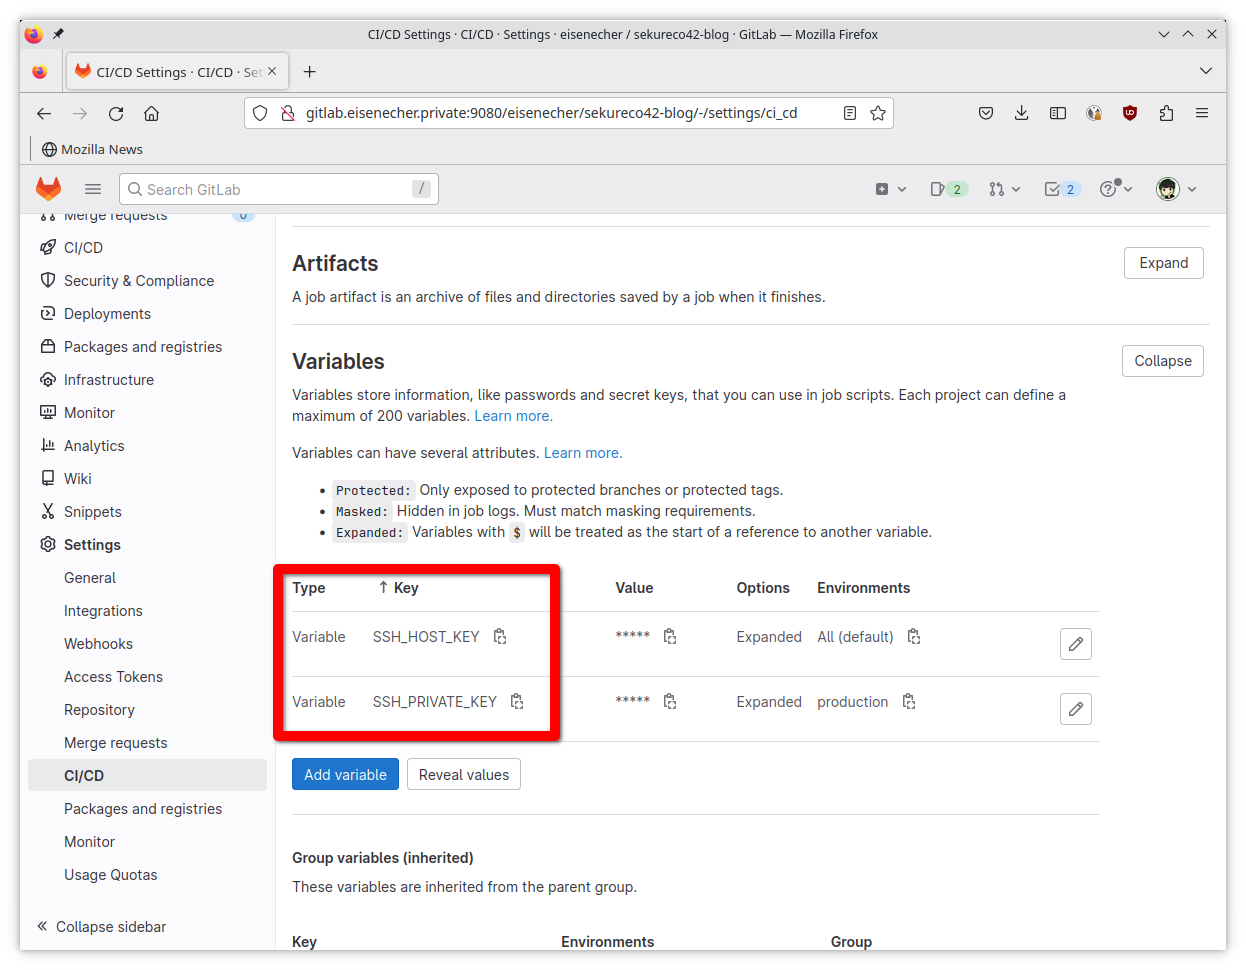
A special note is needed regarding SSH. Due we want to deploy our files directly to our production web server over SSH, we have to make sure that for authentication a proper SSH key (Line 25) is available in the runner and that we verify the SSH fingerprint of target host (Line 27).
What you not want is to have those information embedded into your .gitlab-ci.yml file because if you post it accidently somewhere in the public all your secrets are compromised. To address this issue GitLab provides the possibility to supply variables to the runner. You define them in GitLab Settings → CI/CD → Variables. They are named SSH_PRIVATE_KEY and SSH_HOST_KEY and can then be accessed in your .gitlab-ci.yml file prefixed with $ (eg. $SSH_HOST_KEY).
DONE! After your next push to the repo ideally your files get deployed to your destination system.